

Android phones are notoriously easy to work with. And by work with, I mean that they are often the darlings of the modding and rooting community, given the open nature that Google often takes with their devices and operating system. While not incredibly easy in the past, it seems that Google is actually intentionally making it easier for folks to, in my opinion, get the most of a device that is very expensive and very important to everyday life.
Basically, it comes down to this first and easy step. If you want to do anything that would be considered outside of the ordinary with your new, or old, Nexus device, like flash an image of Android 5.0 Lollipop to your new Nexus 6 before it’s fully available to the public, you will need to unlock the bootloader.
This may sound scary, especially to the uninitiated. But trust me, it’s not. It will take you almost as much time and just barely more effort to unlock your bootloader than it does to install pretty much any application on the Play Store.
I do have a few warnings, though.
First off, you’re essentially opening up your phone to just about anything that may be able to make changes on it without your knowledge. Don’t let this stop you. There are billions of smartphones in the world and, truth be told, it is exceedingly rare for your phone to be hacked directly. Another thing is that while it won’t positively void the warranty on your device, there is always a chance. Google is notoriously easier on those that try deep customization on their Android devices, but there is no promise that if you brick your phone that they will replace it under the warranty. Just play it safe and to the point if you’re unsure of doing this sort of action. There is a lot of fun to be had that starts with an unlocked bootloader, but your devices are just as much fun and useful whole.
That being said, let’s look at how easy it honestly is to unlock the bootloader on your Android device.
As always, you’ll need to turn on USB Debugging. This is easy. Go into your Settings and then the Development button. From there, simply enable USB Debugging? Easy, right? This level of ease is what you can expect for this entire process. (This is also assuming, like with any situation where you’re working behind the scenes on your Android, that you have installed Android SDK on your machine.)
Grab your phone’s cable, plug it into both your device and the computer. Fire up your Android SDK and open a command line. You only need to type in two commands here. They are:
adb reboot-bootloader
fastboot oem unlock
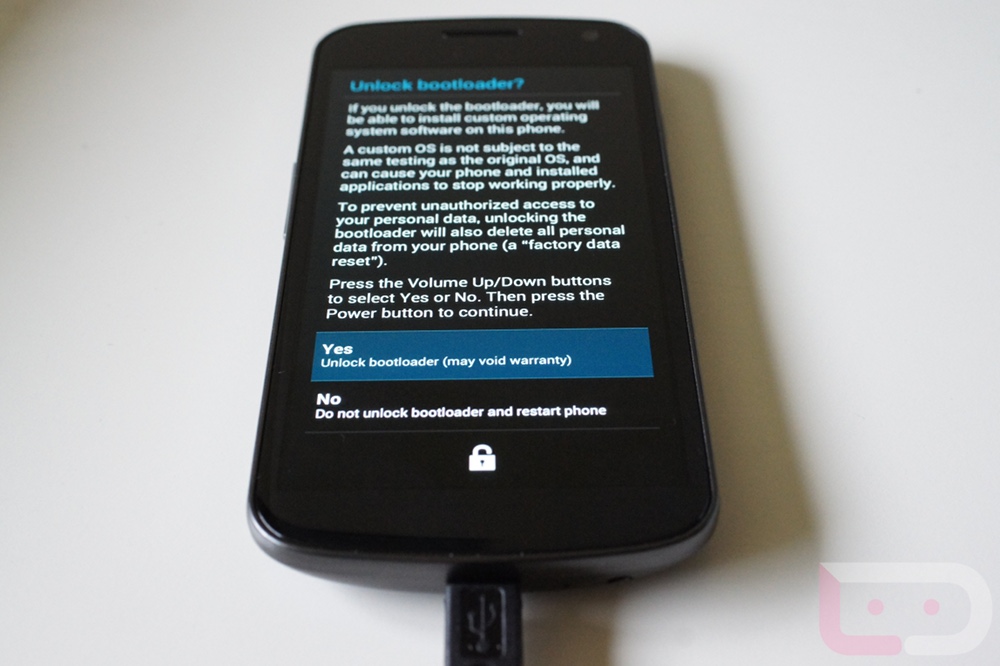
From there, it’s as simple as going along step by step with the instructions that come up on your screen. Be sure to back up anything you want to keep on your phone as this process will wipe your phone and the information on it.
Enjoy your unlocked Nexus!
![]()